
Composting is the lifeblood of any self-sufficient homestead, turning organic waste into nutrient-rich soil that breathes life back into your garden. It’s nature’s recycling system—a process that reduces waste while nurturing the land.
By diverting food scraps and yard waste from landfills, you are recycling in the best possible way, all while enriching your homestead’s soil structure.
A DIY compost bin takes self-sufficiency and recycling one step further — it eliminates the need for commercial composting systems, which can be costly and inefficient. Instead, it’s affordable, customizable and utilizes every available resource.
By crafting your own bin, you’re harnessing the power of decomposition and saving money in the process.
Choosing the Perfect Location for Your Compost Bin
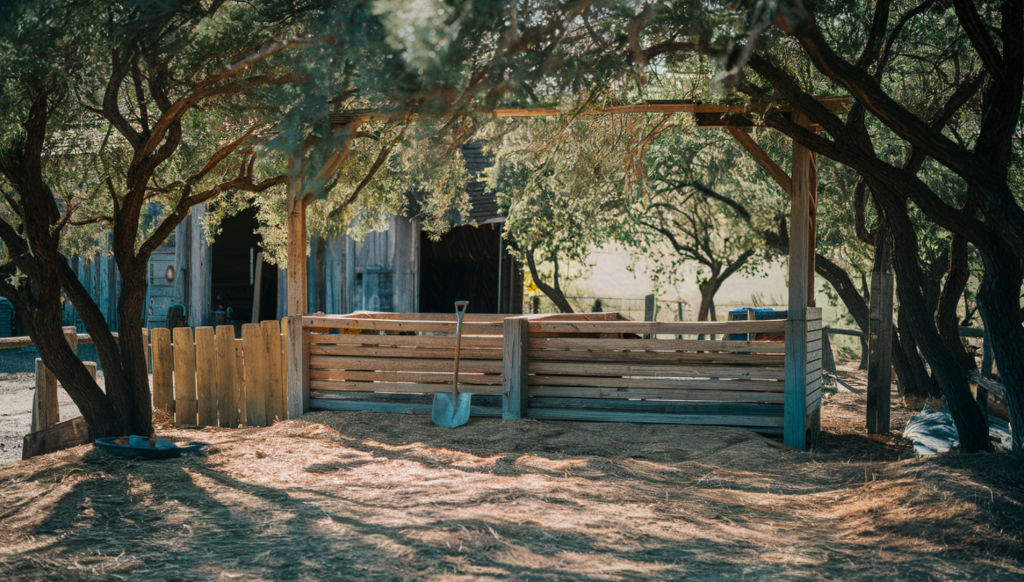
Location is everything when it comes to composting. To ensure the success of your compost bin, you need to place it in a spot that encourages decomposition without being a hindrance to your daily activities.
Sunlight plays a key role—too much direct sun can dry out your compost, while too little can slow down the process. Ideally, partial shade will keep your compost in that perfect balance between warmth and moisture.
Drainage is another crucial factor. Your compost bin should be placed on bare earth; a bit of sparse straw or hay is fine as well, allowing for proper drainage and enabling helpful organisms like worms to migrate in and out of the pile, assisting in the breakdown of organic matter.
Accessibility is equally important; you’ll want the bin close enough to your garden and kitchen for easy deposit of scraps, but far enough away to avoid any potential odors or pests bothering your outdoor space.
Materials You’ll Need to Build Your Compost Bin
Building a compost bin doesn’t have to be an expensive endeavor. In fact, many homesteaders use materials they already have on hand.
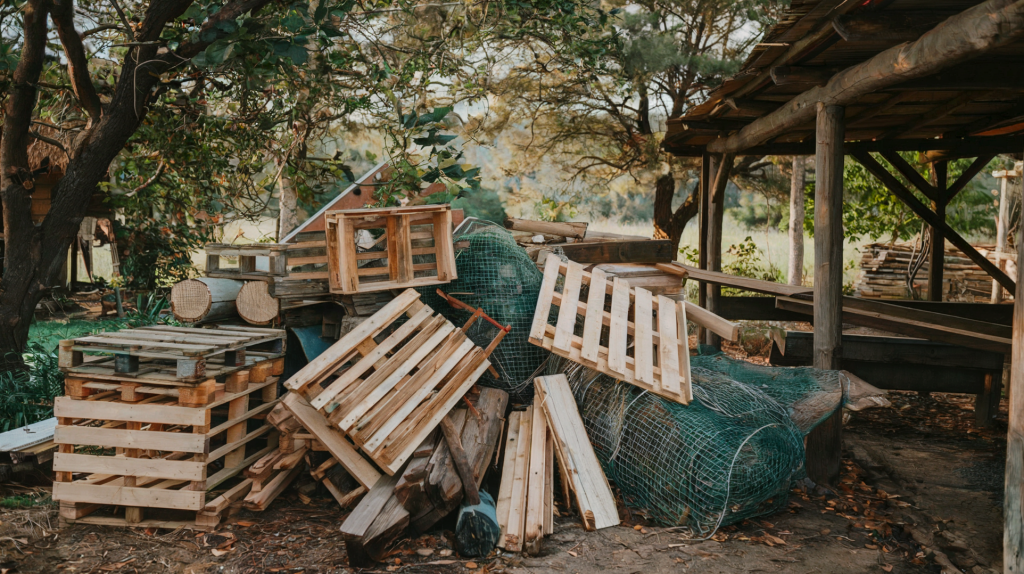
For budget-friendly options, consider repurposing wood pallets, chicken wire, or old lumber. These materials not only provide structure but also promote airflow, which is crucial for maintaining a healthy compost pile.
If you prefer a more polished look, untreated wood is an excellent option. It’s durable, biodegradable, and adds a rustic touch to your homestead. Recycled plastic bins are also available for those seeking a maintenance-free solution, though they lack the natural aesthetics of a wooden bin.
Whether you choose wood, wire, or recycled materials, the key is to select something that allows air circulation while containing the compost effectively.
Types of DIY Compost Bins: Which One is Right for You?
There are several styles of compost bins to choose from, each with its own set of benefits, but there are two main considerations.
Open Bins
These are the simplest and most affordable option. They allow for maximum airflow and are easy to build, making them perfect for beginners. These will sometimes appear with only three sides for those who prefer the easiest access.
Open bins are typically constructed using materials like wood, wire mesh, or pallets, allowing for easy customization based on your space and budget. They are great for backyard composting, as they promote natural decomposition through consistent airflow.
However, since they are exposed, open bins may attract unwanted pests like rodents or insects if not properly managed. To avoid this, ensure food scraps are covered with leaves or grass clippings. Regular turning is also essential to speed up the composting process and maintain balance.
“Stivers Homestead” on YouTube offers a terrific step-by-step guide to creating the best-of-both-worlds wood composting bin with a removable front for increased flexibility. This of course can be modified to allow for retaining all sides but increasing the spaces between boards and/or augmenting with wire mesh.
Enclosed Bins
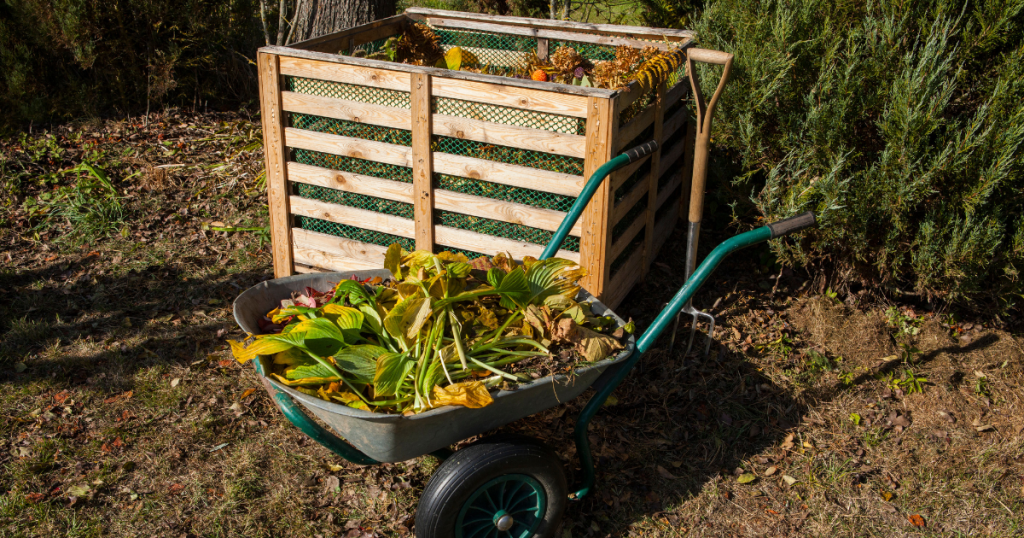
Wooden crates or wire mesh designs can also be used to form a tighter enclosure, including a lid, that will offer more protection from pests and provide a tidier appearance. They’re ideal for urban homesteads or small spaces where aesthetics matter.
However, for the cleanest and most durable design, recycled plastic is an ideal option for composting. Recycled plastic bins are weather-resistant, and feature a lid to help retain moisture and heat, speeding up the decomposition process.
Recycled plastic compost bins also provide added protection against pests like rodents and insects. These bins are low-maintenance and perfect for small spaces or urban settings where managing compost discreetly is important. Plus, they contribute to reducing overall plastic waste!
Check out this great video from “Clueless Mama DIY” on YouTube showing how to convert a standard plastic bin into a $10 small-scale composter.
Tumblers, on the other hand, take convenience to the next level. These enclosed bins are mounted on a stand and can be rotated to mix the compost, speeding up the decomposition process. Tumblers are can be pricey if purchased, but there are at least some decent recycled plastic or resin options available now.
For a DIY compost tumbler, recycled plastic or metal are both good options. You can repurpose old barrels or trash cans, adding ventilation holes and a crank or handle for easy rotation. This not only saves money but also gives you full control over the design, size, and materials used, making it both versatile and cost-effective.
“Homesteadenomics” on YouTube shows off a 55-gallon plastic drum being easily converted to a compost tumbler. This is super durable and can be put on wheels if you want to add even more versatility for changing locations if need be.
What to Add (and What to Avoid) in Your Compost Bin
The secret to a successful compost bin lies in maintaining the right balance of “green” and “brown” materials. Greens are nitrogen-rich items like fruit and vegetable scraps, grass clippings, and coffee grounds. Browns, on the other hand, provide carbon and include dry leaves, straw, and shredded paper (but definitely avoid anything glossy or non-biodegradable). Aim for a mix of about 50% greens and 50% browns for optimal decomposition.
However, not everything belongs in a compost bin. Avoid adding meat, dairy, and oily foods, as these can attract pests and create unpleasant odors. Similarly, steer clear of diseased plants or chemically treated wood, which could introduce harmful substances into your compost. Managing your food waste, yard clippings, and other organic matter thoughtfully will keep your compost healthy and active.
Maintaining Your Compost Bin: Keeping the Process Healthy and Active
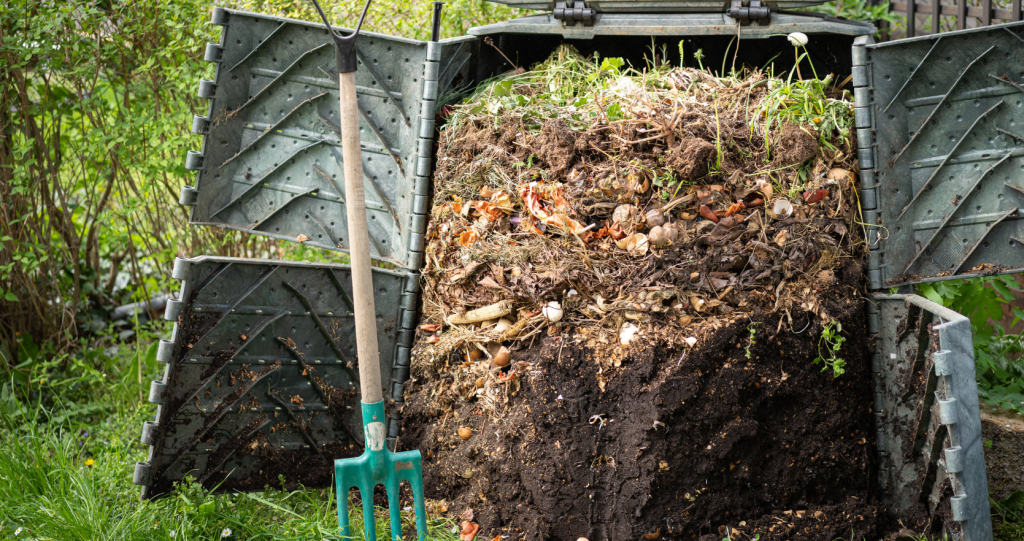
Once your bin is up and running, it’s essential to keep the composting process going strong. Turning your compost regularly—about once a week—ensures that oxygen reaches the center of the pile, which is crucial for speeding up decomposition. A compost aerator or a simple pitchfork can do the trick.
Moisture levels are equally important. The compost should be damp, like a wrung-out sponge, but not soaking wet. If your compost is too dry, water it gently; if it’s too wet, add more dry materials like straw or leaves.
By keeping an eye on moisture and turning the pile regularly, you’ll create the perfect conditions for microbes to break down organic matter. Be on the lookout for common problems like unpleasant odors or slow decomposition—these are usually signs that your compost needs more air, drier materials, or additional turning.
Harvesting Your Finished Compost: When and How to Use It
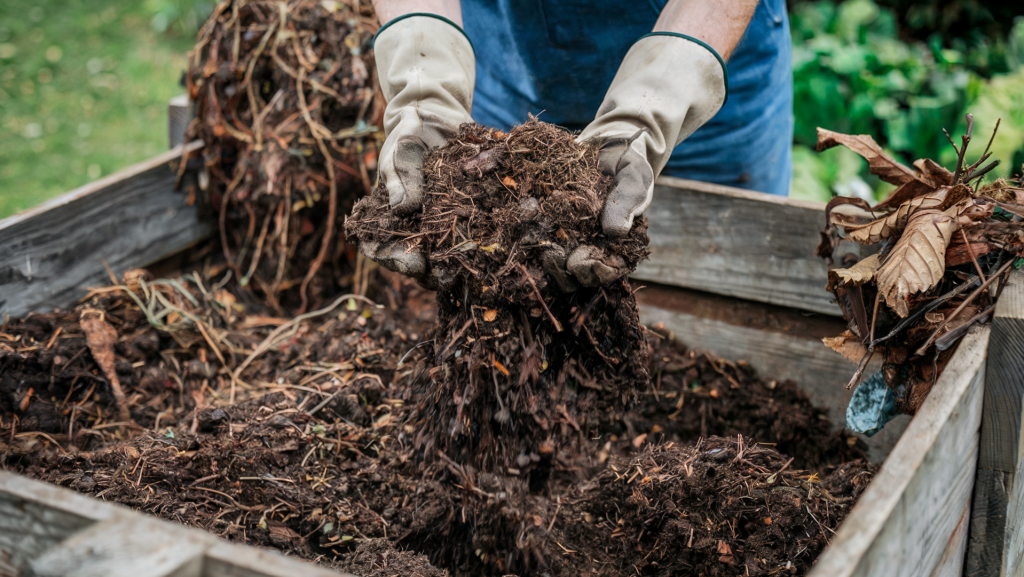
Knowing when your compost is ready is key to maximizing its benefits for your garden. Finished compost, often referred to as “black gold,” should be dark, crumbly, and have an earthy smell. It typically takes anywhere from 2 to 6 months, depending on how well you maintain the pile.
When your compost is ready, sift out any large pieces that haven’t fully decomposed—these can go back into the bin for another round. The rich, nutrient-dense compost can now be used to top-dress garden beds, enrich the soil in your lawn, or add to your container garden plants. Not only will it nourish your crops, but it will also improve soil structure and promote healthy root systems.
Building your own compost bin is a rewarding, simple and low-cost project that can transform the way you manage waste and care for your garden. From reducing landfill waste to producing rich, organic soil for your homestead, composting offers a multitude of much-needed solutions.
Starting small and expanding your DIY composting efforts over time will allow you to grow in confidence and competence as a homesteader!
See Our Latest Posts
- Simple Recipes for DIY Herbal Salves and Balms
- Delicious One-Pot Homestead Meals from Pantry Staples
- 5 Best Meat Dehydrators for DIY Jerky on Amazon (2025)
- Urban Homestead Hacks from Backyard to Balcony
- Creative Strategies for Frugal Homesteading
Write A Guest Post For Us!
Are you passionate about gardening, raising livestock or preserving food? We’re excited to announce that we’re now accepting guest posts for all aspects of homesteading!