
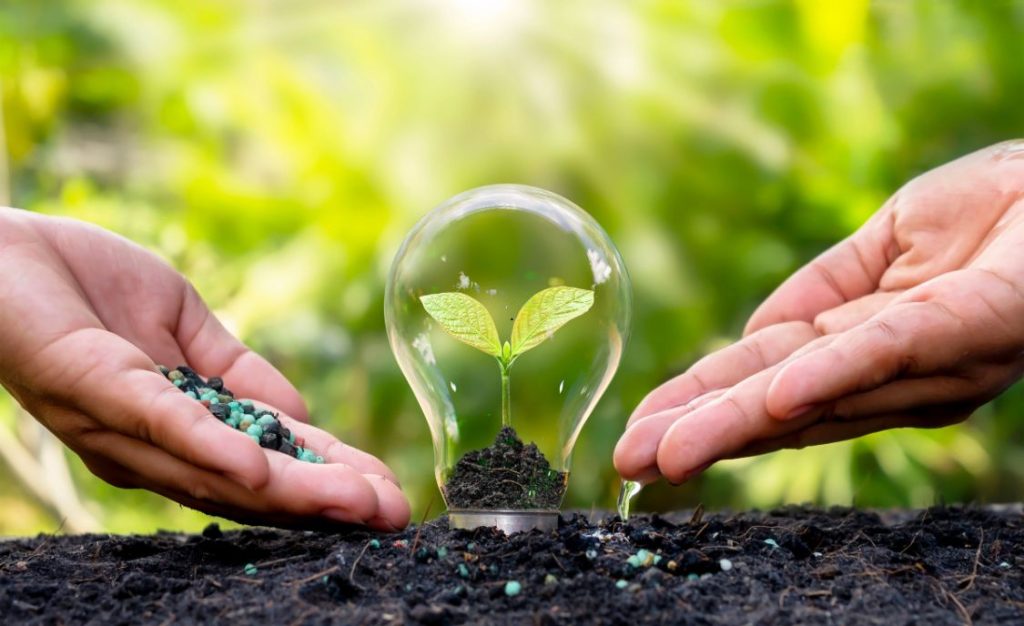
In an era of skyrocketing gardening costs and growing concerns over chemical runoff, homemade organic fertilizer offers a refreshingly simple solution. It’s not just about saving a few dollars—it’s about reclaiming control over what feeds your soil and ultimately, your food.
Making fertilizer at home brings the power of regenerative gardening right to your backyard. Organic fertilizers don’t just nourish your plants—they enrich your soil’s ecosystem, creating a living, breathing foundation for long-term growth.
Say goodbye to chemical burn and hello to increased microbial activity, balanced pH, and a lush, vibrant garden that thrives season after season. It’s also one of the cornerstones of permaculture gardening for those who want to take their homesteading to the next level.
Understanding Fertilizer Basics — What Is Fertilizer and Why Do Plants Need It?
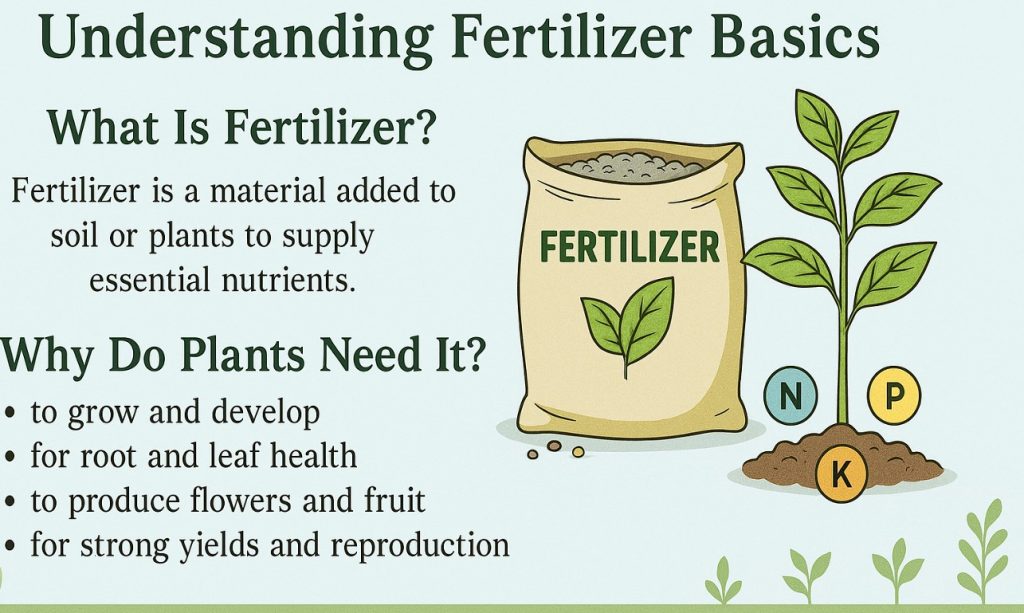
Fertilizer is plant food, plain and simple. It supplies essential nutrients—most notably nitrogen (N), phosphorus (P), and potassium (K)—that help plants grow strong roots, robust foliage, and delicious fruit. Without it, even the healthiest soil can become depleted over time, leaving your garden sluggish and undernourished.
The N-P-K Breakdown: Understanding Nutrient Labels Naturally
The N-P-K ratio tells you how much nitrogen, phosphorus, and potassium your fertilizer contains. Think of it as a nutritional label for plants:
- N (Nitrogen) boosts leafy growth.
- P (Phosphorus) supports roots and flowers.
- K (Potassium) enhances overall health and resistance.
With homemade blends, you can tailor these ratios naturally, using ingredients that suit your soil and crops.
Benefits of Homemade Organic Fertilizer
Homemade organic fertilizer is a sustainable choice that supports thriving gardens and healthier harvests year-round. It offers a multitude of benefits, but there are three key reasons to begin your DIY organic fertilizer journey.
- Save Money While Reducing Waste — Why throw away banana peels or lawn clippings when they can become nutrient-rich fertilizer? DIY methods cut down on grocery bills and garbage output, letting you upcycle kitchen and yard waste into garden gold.
- Boost Soil Health Without Harsh Chemicals — Homemade fertilizers work in harmony with nature. They don’t leach into waterways or harm pollinators. Instead, they build a living soil web teeming with beneficial bacteria, fungi, and earthworms—your silent partners in growing success.
- Grow Nutrient-Dense Food Sustainably — Food grown in organic, living soil often contains more vitamins and minerals. When you feed the soil, not just the plant, your garden gives back with flavorful, nutrient-packed harvests.
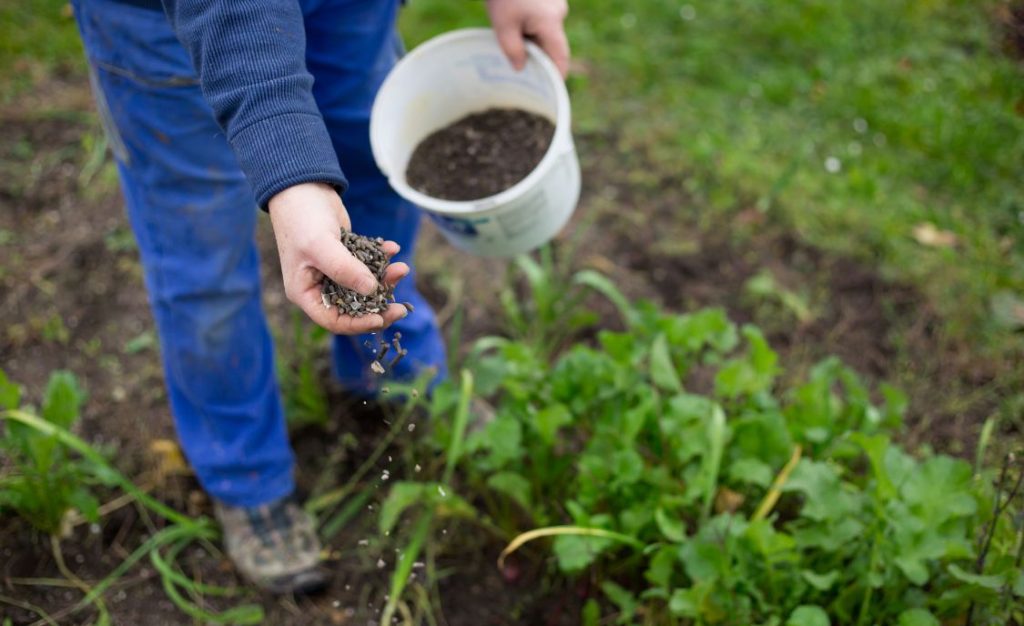
Common Ingredients You Already Have
You don’t need fancy supplies to make effective fertilizer—your kitchen and yard are full of natural ingredients that nourish soil and plants. Discover what everyday items can power your garden!
Kitchen Scraps: From Banana Peels to Coffee Grounds
Banana peels provide potassium, coffee grounds offer nitrogen, and crushed eggshells deliver calcium. Even onion skins and garlic peels add trace minerals. These everyday scraps become essential building blocks in your fertilizer mix.
Garden Waste: Leaves, Weeds, and Grass Clippings
Don’t bag that yard waste—put it to work. Green clippings are nitrogen-rich, while dried leaves add carbon. Together, they form a balanced compost base that breaks down into plant-loving nutrients.
Pantry Gold: Epsom Salt, Molasses, and Crushed Eggshells
A spoonful of molasses feeds soil microbes. Epsom salt adds magnesium and sulfur, both vital for plant development. Eggshells, when crushed finely, give a steady calcium release—ideal for tomatoes and peppers.
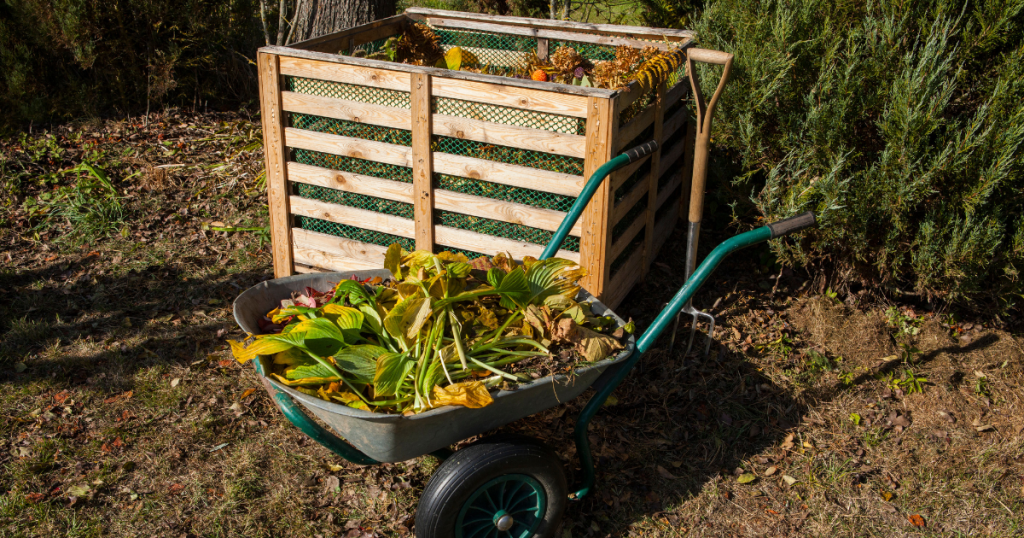
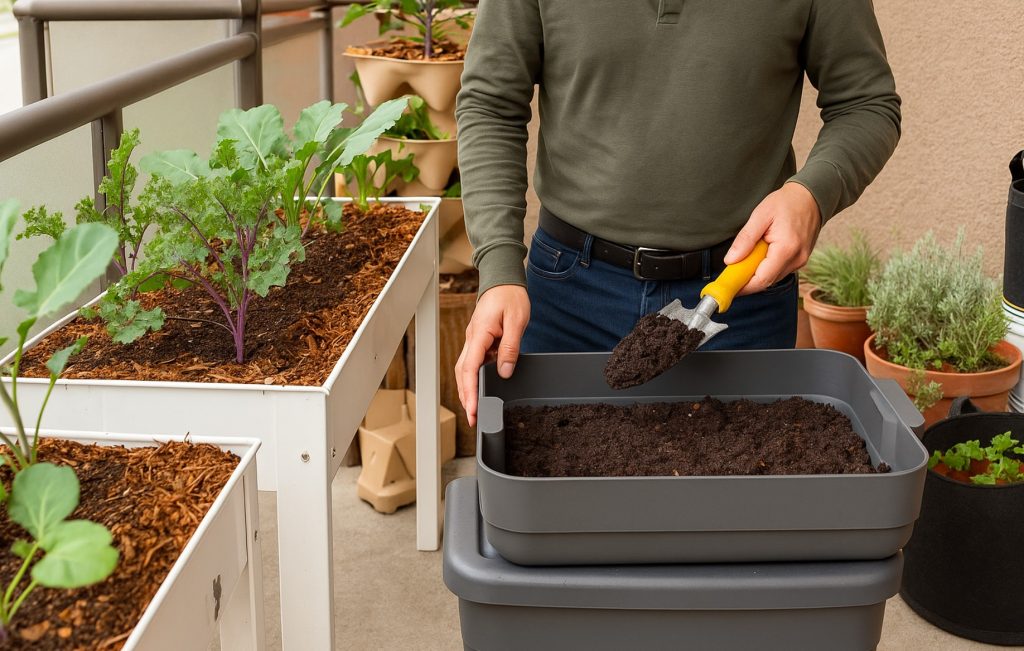
Compost: The Black Gold of the Garden
As I discussed in my article “Building A DIY Compost Bin: A Step-by-Step Guide” seen above, a DIY compost bin is a smart step toward self-sufficiency, cutting out the need for pricey, inefficient commercial systems. It’s budget-friendly, customizable, and makes the most of your everyday waste.
How to Start a Simple Backyard Compost Bin
All you need is a bin, a pitchfork, and a little know-how. Alternate “greens” (nitrogen-rich) with “browns” (carbon-rich), keep it moist but not soggy, and turn it weekly for aeration. Nature does the rest.
What to Compost and What to Avoid
Toss in veggie scraps, coffee grounds, shredded newspaper, and garden trimmings. Avoid meat, dairy, oils, and anything treated with chemicals. A good rule: if it rots and isn’t greasy, it’s probably compostable.
Troubleshooting Common Composting Problems
Foul smell? Too much green. Dry and slow? Add water and greens. Flies or rodents? Bury food scraps deep and avoid meat. Keep your pile balanced, and it will reward you in spades.
Worm Castings and Vermicomposting
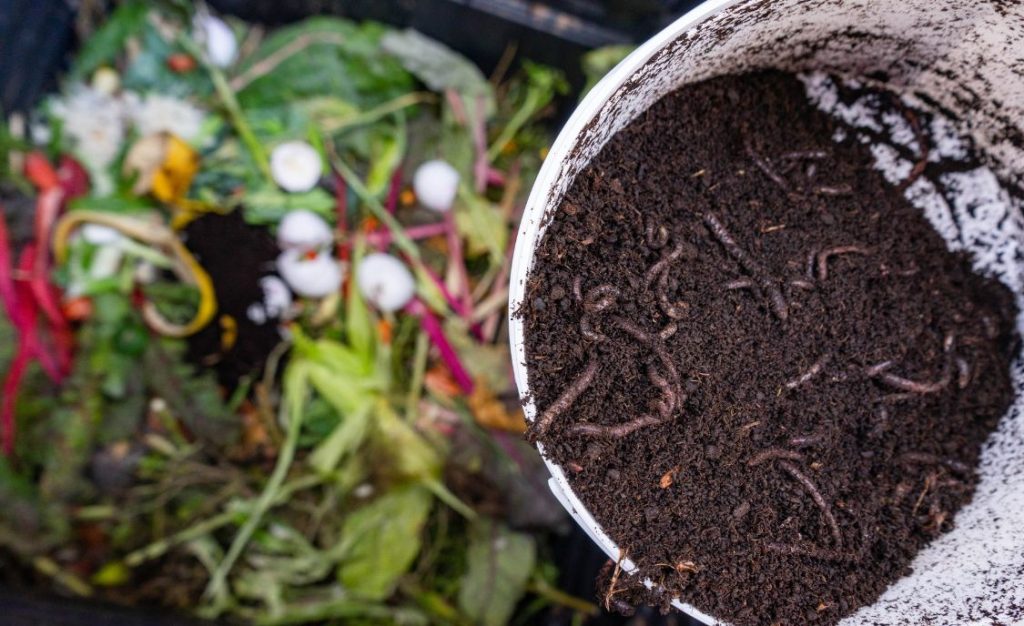
Worm castings are loaded with microbial life and plant-ready nutrients. They improve soil texture, retain moisture, and can supercharge seedlings and mature plants alike.
Setting Up Your Own Worm Bin Indoors or Outdoors
A plastic bin, bedding (like shredded paper), and a pound of red wigglers is all it takes. Feed them weekly and harvest castings every couple of months. No odor, no mess—just rich, dark fertilizer.
Find out which type of worm bin will work best for you in the informative video below from Vermicompost Learn By Doing on YouTube.
Manure Matters
Chicken, cow, horse, and rabbit manure all make excellent fertilizers—if aged properly. Fresh manure is too “hot” and can burn plants, but composted manure is garden gold.
Best Types of Manure and How to Age Them Properly
Rabbit manure is gentle and ready to use right away, making it ideal for busy gardeners. Chicken and horse manure, however, are “hot” and need aging—compost them for 3–6 months to break down pathogens and reduce nitrogen burn.
This natural curing process transforms potent waste into rich, garden-ready compost that enhances soil texture, improves water retention, and delivers balanced nutrients over time. Aging also minimizes odor and weeds, making your DIY organic fertilizer both effective and pleasant to use.
DIY Organic Liquid Fertilizers
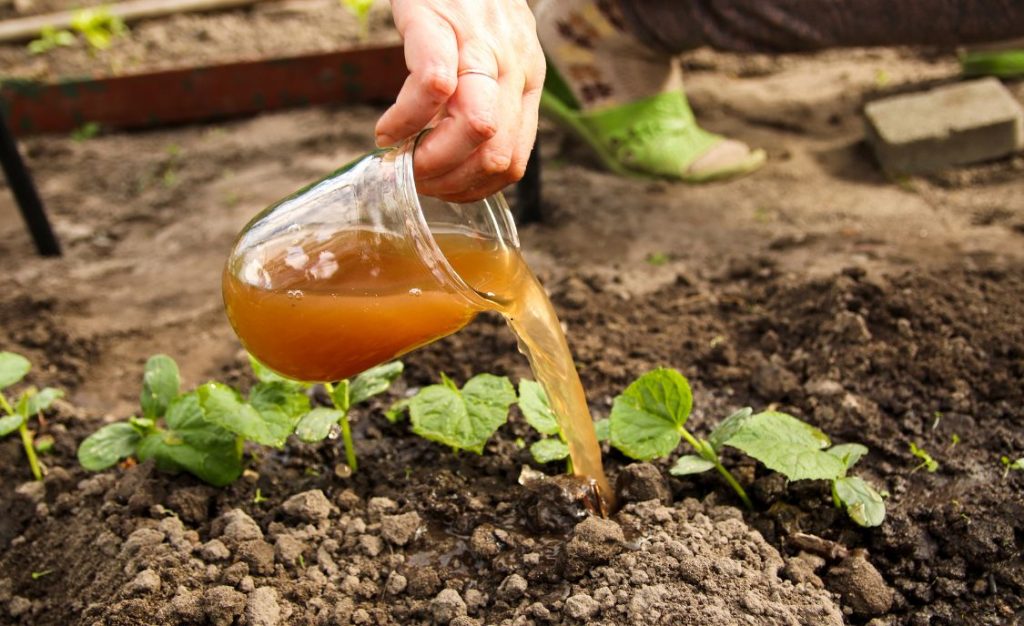
DIY organic liquid fertilizers are a game-changer for home gardeners—easy to make, quick to absorb, and packed with nutrients that supercharge plant growth while staying gentle on the earth.
How to Brew Compost Tea for a Nutrient Boost
Soak a shovelful of compost in a five-gallon bucket of water for 1–2 days, stirring occasionally. Strain and use to water plants or spray on leaves. It’s like an energy drink for your garden. This liquid gold boosts microbial life, improves nutrient absorption, and helps plants fight off disease naturally. Use within a few hours of straining for maximum potency and avoid direct sunlight when spraying on leaves.
Making Weed or Seaweed Tea for Nitrogen-Rich Results
Pulled weeds (before they seed) or fresh seaweed can be soaked in water to create a nitrogen-rich “tea.” After fermenting for a few weeks, it becomes a potent, free liquid fertilizer. Stir the mix every few days to speed up fermentation and reduce odor. Dilute the finished tea before applying to plants, using a 1:10 ratio with water. It’s perfect for leafy greens and fast-growing vegetables.
Check out all of the top 10 liquid fertilizers in this amazing video from Zen Garden Oasis on YouTube.
Fermented Fertilizers and Bokashi Buckets
Fermentation creates an acidic environment that breaks down organic matter fast. Add a homemade lactobacillus culture to food scraps for quick nutrient conversion and minimal odor.
Using Bokashi to Fertilize in Small Spaces
Perfect for apartments and small homesteads, Bokashi is an anaerobic system that pre-composts kitchen scraps. After fermenting, bury the material in soil or compost it further to complete the cycle.
Check this video from Living Green on YouTube for how to get this process going in just minutes!
Specialized Mixes for Specific Plants
Leafy greens love nitrogen—try grass clippings and compost teas to boost leafy growth and rich color. Root crops like carrots and beets benefit from potassium and phosphorus, so add wood ash or bone meal to their beds for better root development and flavor.
Tomatoes thrive on calcium-rich compost and worm castings to prevent blossom end rot and promote juicy fruit that produces the best tomatoes for canning and eating fresh from the garden.
Herbs, especially medicinal herb seeds, prefer a balanced mix with good drainage, so combine compost with sand or perlite for optimal results.
Fruit trees do best with aged manure and mineral-heavy additives like rock dust or seaweed powder, which support long-term soil health and high-yield harvests.
Matching your DIY fertilizer to each plant’s specific needs ensures a thriving, productive survival garden.
Application Tips for Best Results
Knowing when and how to apply your DIY organic fertilizer makes all the difference. These tips will help you maximize nutrient absorption, boost plant health, and get the most from your homemade efforts.
How and When to Apply Organic Fertilizer
Apply compost in spring and fall, liquid fertilizers every 2–4 weeks, and top-dress with worm castings mid-season for steady nutrition.
Water in well and time your applications for early morning or late afternoon to avoid evaporation and plant stress. Always apply to moist soil for better nutrient uptake and distribution.
Avoiding Overfeeding and Burn in Organic Gardening
Even organics can overwhelm. More is not always better. Start with less, observe plant response, and adjust accordingly.
Test your soil annually to stay balanced and prevent nutrient buildup. Watch for signs like yellowing leaves, stunted growth, or salt crusts—these may indicate it’s time to scale back.
Storing Your Homemade Fertilizer
Compost can last a year or more if kept dry and covered, preserving its nutrient value. Store liquid fertilizers in airtight containers out of direct sunlight and use them within a few weeks for peak potency and effectiveness.
Mark your bins and buckets clearly with dates and ingredients to avoid confusion. Rotate older mixes to the front to ensure nothing goes to waste.
Keep a simple garden log or notebook to track what you applied, when, and to which plants. This habit helps you spot patterns, avoid overfeeding, and fine-tune your approach season after season. Your plants—and your future harvests—will thank you.
Turning Waste Into Growth: A True Homesteader’s Win
There’s something deeply satisfying about transforming kitchen scraps and garden clippings into lush, thriving growth. It’s a closed-loop system that rewards patience and consistency.
You don’t need a fancy setup to start. Just a bucket, some scraps, and the willingness to experiment. Over time, your soil will grow richer—and so will your connection to the earth beneath your feet.
See Our Latest Posts
- Simple Recipes for DIY Herbal Salves and Balms
- Delicious One-Pot Homestead Meals from Pantry Staples
- 5 Best Meat Dehydrators for DIY Jerky on Amazon (2025)
- Urban Homestead Hacks from Backyard to Balcony
- Creative Strategies for Frugal Homesteading
Write A Guest Post For Us!
Are you passionate about gardening, raising livestock or preserving food? We’re excited to announce that we’re now accepting guest posts for all aspects of homesteading!