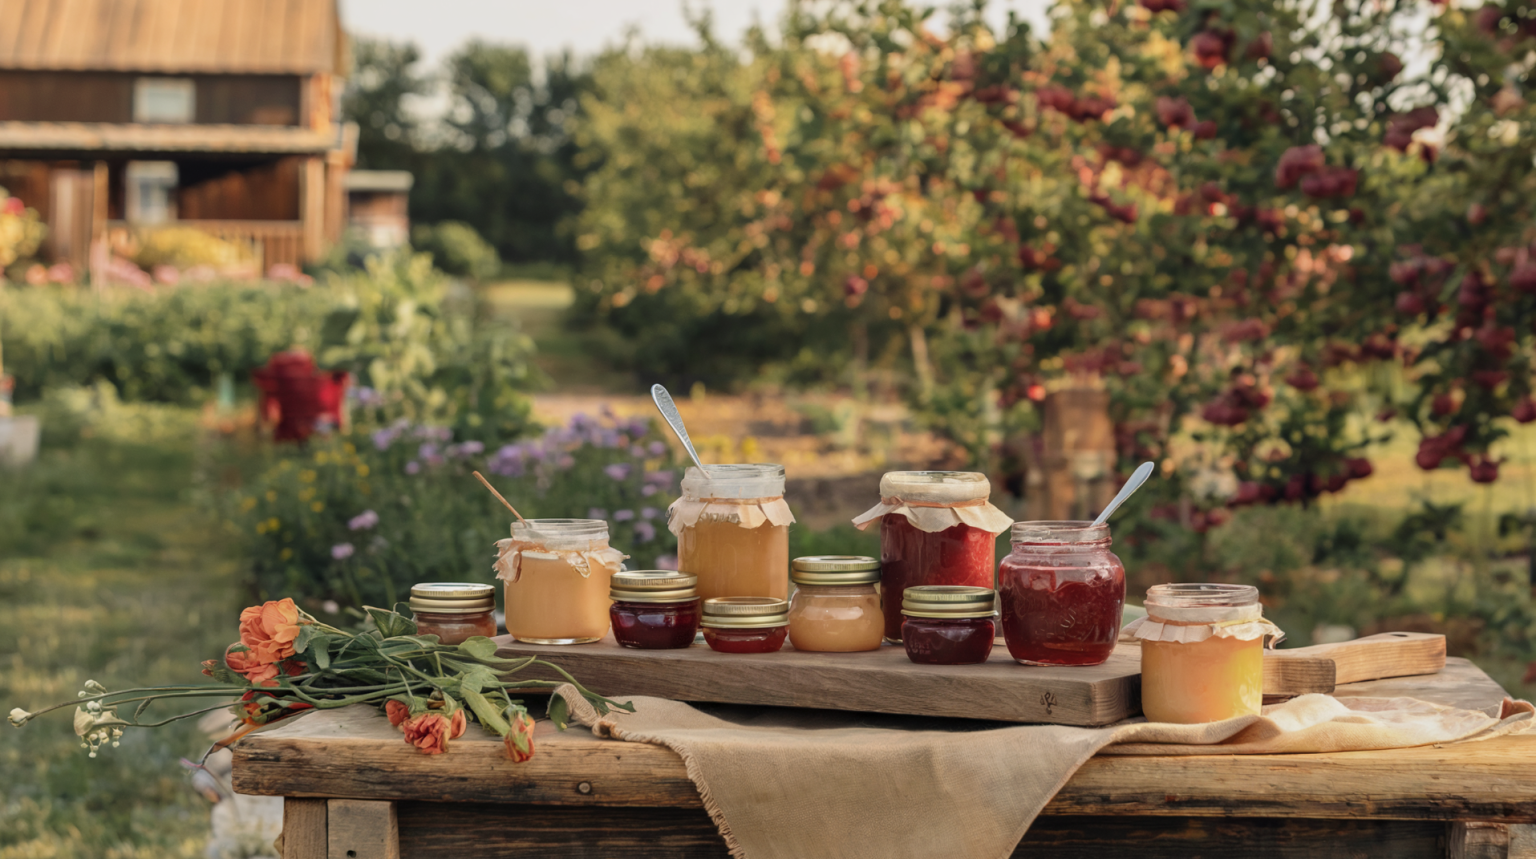
Homemade jam is a delightful treat, but traditional recipes often call for heaps of sugar, masking the natural flavors of the fruit. For those looking to cut back on sugar without sacrificing taste, low-sugar and no-sugar jams are the perfect solution.
These recipes highlight the pure, vibrant taste of fresh, organic fruit while using natural sweeteners and thickeners.
Get ready to fill your pantry with jars of wholesome, homemade goodness that burst with flavor in every spoonful!
The Benefits of Low-Sugar and No-Sugar Jams

Cutting back on sugar isn’t just a trend; it’s a lifestyle change that can boost your well-being. High sugar intake has been linked to weight gain, diabetes, and even heart disease. Low-sugar jams allow you to enjoy the sweet, rich taste of fresh fruit without the guilt. By reducing sugar, you’re savoring the true essence of the ingredients, while also cutting down on unnecessary calories. It’s a win for your taste buds and your health.
How Organic Ingredients Make a Difference
Choosing organic fruits isn’t just about avoiding pesticides; it’s about unlocking the fullest potential of flavor. Organic produce is fresher and more nutrient-dense; and when it comes to making jams, this means better-tasting preserves. By opting for organic, you’re not only supporting sustainable farming practices but also creating a cleaner, healthier product for you and your family.
Understanding Natural Sweeteners vs. Artificial Sweeteners
Not all sweeteners are created equal. Natural sweeteners like honey, maple syrup, and monk fruit extract offer subtle but complex flavors without the chemical aftertaste of unhealthy artificial options like aspartame or sucralose. These natural alternatives don’t just sweeten the jam; they add depth and complexity, enhancing the overall flavor profile while keeping things wholesome and natural. And they contain essential vitamins and minerals as an added bonus! At the very least, we can switch to organic cane sugar, which greatly reduces the effects of processed white sugar, and even contains beneficial antioxidants.
Essential Tips for Making Low-Sugar and No-Sugar Jams
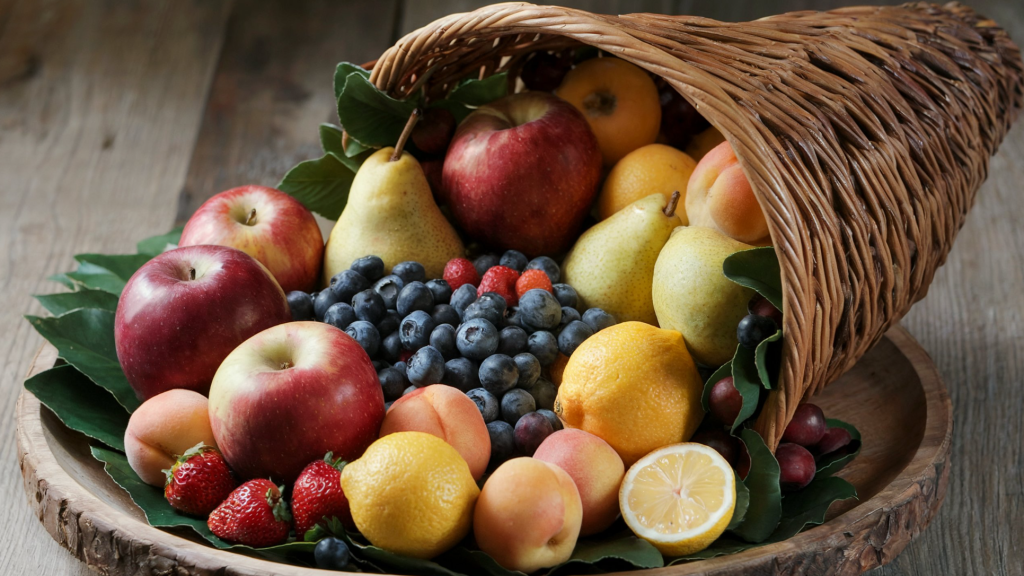
1. The key to a perfect jam is selecting ripe, flavorful fruit.
Look for berries that are firm but juicy, and stone fruits like peaches and apricots that give slightly when pressed. Using the freshest produce ensures your jam has a rich, concentrated taste. Remember, the less sugar you use, the more important the quality of the fruit becomes.
2. Use natural ways to thicken jams
Traditional jams rely on sugar and commercial pectin to thicken. For low-sugar varieties, natural alternatives like chia seeds, agar-agar, and low-sugar pectin are excellent choices. Chia seeds are packed with fiber and expand when soaked, giving your jam a lovely texture. Agar-agar, derived from seaweed, is a vegan-friendly option that creates a smooth, gel-like consistency.
3. Sterilize your jars for safety and longevity
To keep your jams fresh and safe, proper jar sterilization is essential. Wash your jars and lids in hot, soapy water, then boil them for 10 minutes. This process kills any bacteria and ensures your preserves stay mold-free.
4. Storing your jams successfully
Store your jams in sterilized, airtight jars to lock in freshness. Low-sugar jams may not last as long as traditional ones, so refrigerate after opening and use within a few weeks.
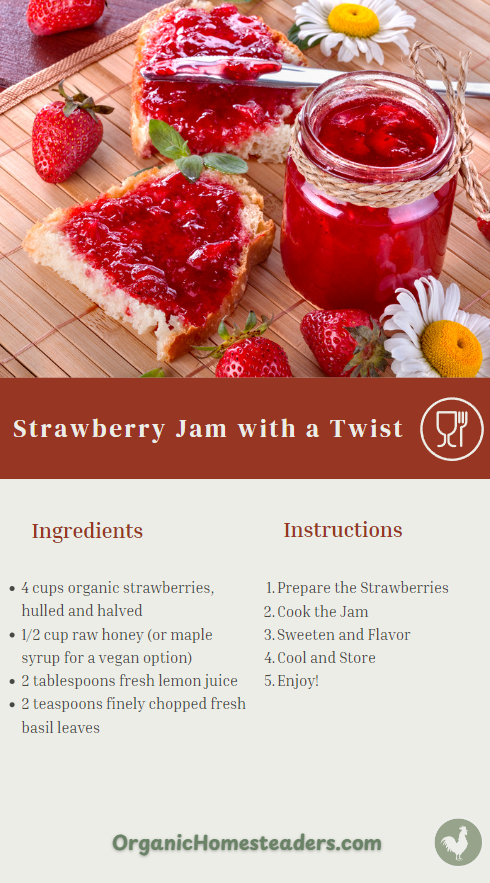
1. Low-Sugar Strawberry Jam with a Twist
Strawberries are the quintessential jam fruit, loved for their sweet, fragrant taste. Opt for organic strawberries at their peak ripeness for a naturally sweet flavor. They’ll need little to no additional sweetener, letting the essence of the berries shine.
Basil adds a delicate, herbal note that elevates the strawberry flavor without overpowering it. Chop a few fresh basil leaves and stir them into the jam just before it finishes cooking. This surprising twist offers a hint of freshness that will have everyone asking for the recipe.
Full Instructions
- Prepare the Strawberries: In a medium saucepan, combine strawberries and lemon juice. Mash the strawberries slightly with a fork or potato masher, leaving some chunks for texture.
- Cook the Jam: Heat the mixture over medium heat, stirring occasionally. Once it starts to boil, reduce the heat to low and simmer for 15-20 minutes, stirring frequently, until the mixture thickens.
- Sweeten and Flavor: Stir in the honey (or maple syrup) and chopped basil. Cook for an additional 5 minutes, allowing the basil to infuse its flavor into the jam.
- Cool and Store: Remove from heat and let the jam cool slightly. Transfer it into sterilized glass jars and seal. Allow the jam to cool completely before refrigerating.
- Enjoy: Store in the refrigerator for up to 2 weeks. This jam is perfect on toast, pancakes, or as a topping for yogurt!
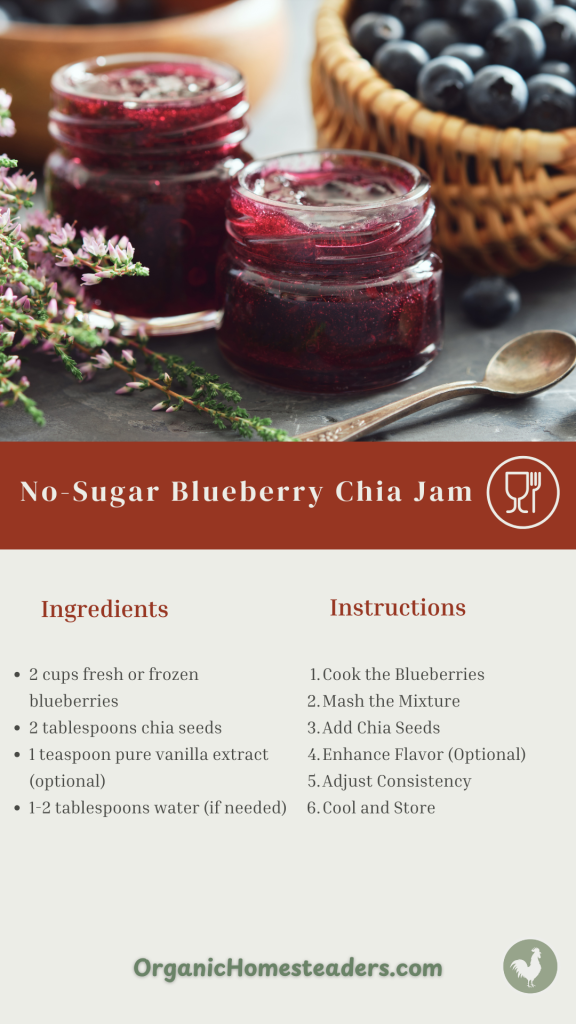
2. No-Sugar Blueberry Chia Jam
Chia seeds are a superfood known for their gelling properties. When added to blueberry jam, they naturally thicken the mixture without the need for pectin. They also provide a delightful texture and a boost of omega-3 fatty acids.
A splash of pure vanilla extract enhances the sweetness of the blueberries, making the jam taste indulgent even without sugar. The warm, creamy notes of vanilla balance the tartness of the berries perfectly.
Full Instructions
- Cook the Blueberries: In a medium saucepan, add the blueberries over medium heat. Cook for about 5 minutes, stirring occasionally, until the blueberries soften and release their juices.
- Mash the Mixture: Use a fork or a potato masher to gently crush the blueberries to your desired consistency. Leave some chunks for texture.
- Add Chia Seeds: Stir in the chia seeds and reduce the heat to low. Cook for another 5 minutes, stirring frequently, until the mixture thickens.
- Enhance Flavor (Optional): Stir in the vanilla extract for added flavor.
- Adjust Consistency: If the jam is too thick, add 1-2 tablespoons of water to achieve your preferred consistency.
- Cool and Store: Remove from heat and let the jam cool completely. The chia seeds will continue to thicken the jam as it cools. Transfer to a clean jar and store in the refrigerator for up to 1 week.
Enjoy this naturally sweet, nutrient-packed jam on toast, yogurt, or as a topping for your favorite desserts!
3. Low-Sugar Raspberry and Lemon Zest Jam
Raspberries are naturally tart, making them a great choice for a no-sugar jam. The key is to balance this tartness with natural sweetness from the fruit itself. For extra depth, you can add a bit of apple juice as a natural sweetener.
Apple pectin is a fantastic way to thicken jams naturally. It’s derived from apples, a fruit that’s already high in natural pectin. Adding it to your raspberry jam helps achieve a firm set without extra sugar.
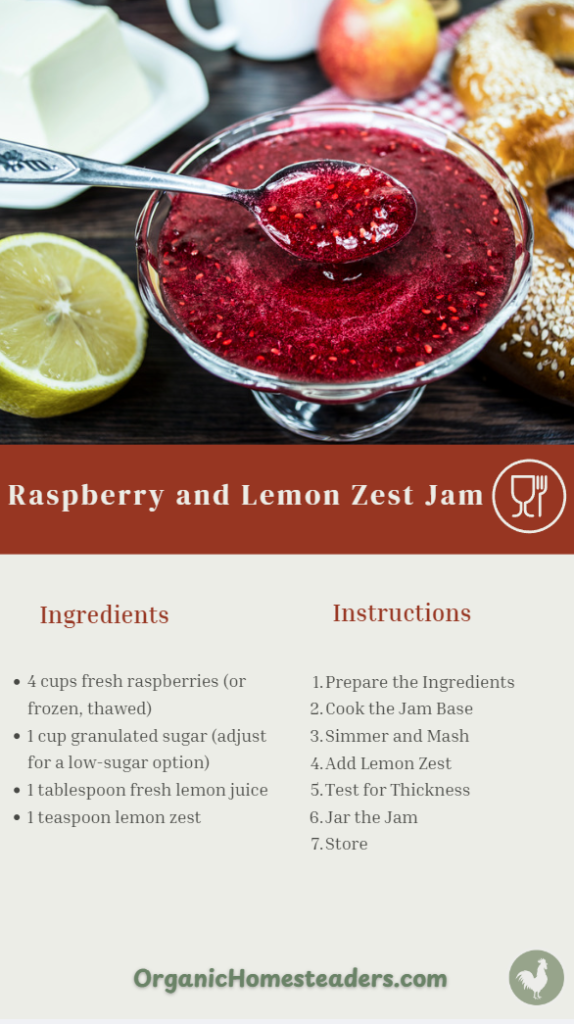
Full Instructions
- Prepare the Ingredients: Rinse the raspberries and let them drain. If using frozen raspberries, ensure they are fully thawed. Grate the lemon to collect the zest.
- Cook the Jam Base: In a medium saucepan, combine the raspberries, sugar, and lemon juice. Stir well to coat the berries with sugar.
- Simmer and Mash: Heat the mixture over medium heat, stirring occasionally. As the raspberries soften, use a fork or potato masher to gently break them down, leaving some texture if preferred.
- Add Lemon Zest: Once the mixture begins to thicken (about 10–15 minutes), stir in the lemon zest. Continue to simmer for another 5 minutes, stirring frequently to prevent sticking.
- Test for Thickness: To check if the jam has reached the desired consistency, place a small spoonful on a cold plate and let it cool. If it thickens and wrinkles slightly when pushed, it’s ready.
- Jar the Jam: Pour the hot jam into sterilized jars, leaving a little space at the top. Seal tightly and let cool at room temperature.
- Store: Store the jam in the refrigerator for up to 3 weeks or process the jars in a water bath for long-term storage.
Enjoy this tangy, sweet spread on toast, yogurt, or as a filling for pastries!
4. No-Sugar Peach and Ginger Jam
Peaches bring natural sweetness and juiciness, while fresh ginger adds a spicy, warming undertone. This combination creates a jam that’s perfect for morning toast or as a glaze for grilled meats.
To capture the fresh taste of peaches, use minimal cooking time. A brief simmer preserves the bright flavor, and using lemon juice helps maintain the vibrant color and natural sweetness.
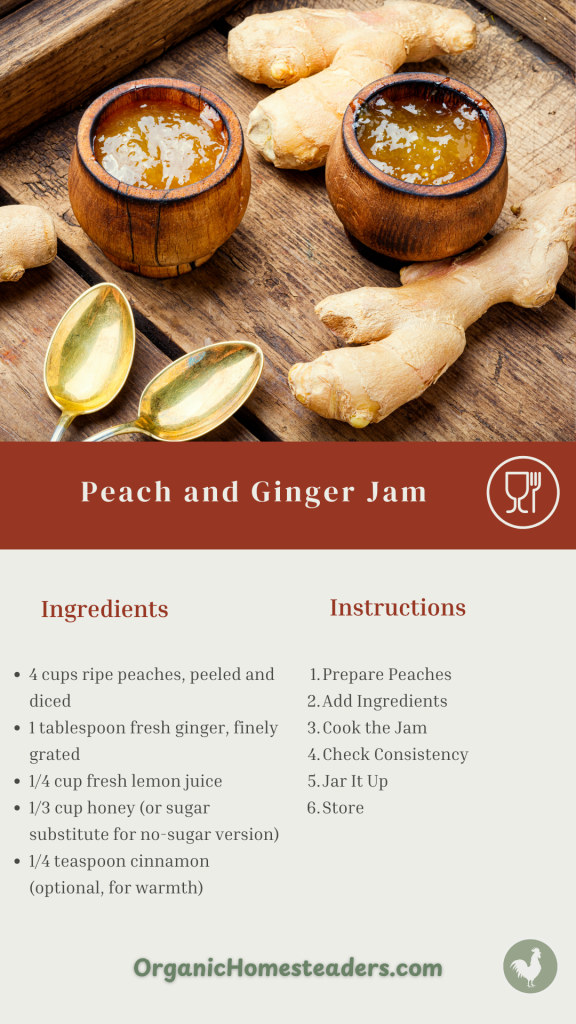
Full Instructions
- Prepare Peaches: Place diced peaches in a large saucepan. Use a potato masher to gently break them down for a chunkier texture, or blend for a smoother consistency.
- Add Ingredients: Stir in grated ginger, lemon juice, honey, and cinnamon (if using). Mix well to combine all flavors.
- Cook the Jam: Bring the mixture to a gentle boil over medium heat, stirring occasionally. Reduce heat to low and let it simmer for 25-30 minutes, stirring frequently to prevent sticking. The jam will thicken as it cooks.
- Check Consistency: To test, place a small spoonful on a chilled plate and run your finger through it. If it holds its shape, it’s ready. If not, cook for a few more minutes.
- Jar It Up: Transfer the jam into sterilized jars while still hot, leaving 1/4 inch of headspace. Seal tightly and let cool. Refrigerate or process in a water bath for longer storage.
Storage
- Refrigerate for up to 3 weeks.
- If canned, store in a cool, dark place for up to a year.
Enjoy this peach and ginger jam on toast, scones, or as a glaze for roasted meats!
5. No-Sugar Apple and Cinnamon Jam
Apples are a fantastic base for a low-sugar jam because they contain plenty of natural sugars and pectin. Choose sweet varieties like Fuji or Gala for a naturally sweet and flavorful preserve.
Cinnamon and a pinch of nutmeg turn this apple jam into a comforting spread that tastes like apple pie. It’s perfect for autumn mornings or holiday gift-giving.
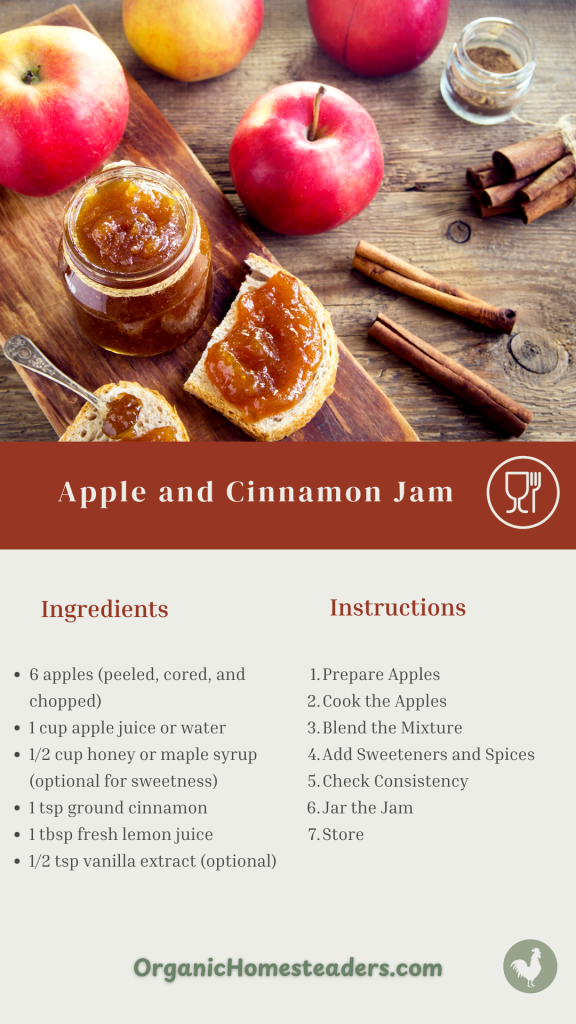
Full Instructions
- Prepare Apples: Peel, core, and chop the apples into small pieces.
- Cook the Apples: In a large saucepan, combine the apples and apple juice (or water). Cook over medium heat, stirring occasionally, until the apples soften (about 15 minutes).
- Blend the Mixture: Use a potato masher or immersion blender to create a smooth or chunky texture, depending on your preference.
- Add Sweeteners and Spices: Stir in the honey (or maple syrup), cinnamon, lemon juice, and vanilla extract. Continue to simmer the mixture on low heat for 10–15 minutes, stirring frequently, until thickened.
- Check Consistency: To test, spoon a small amount onto a chilled plate. If it holds its shape, it’s ready.
- Jar the Jam: Pour the hot jam into sterilized jars, leaving about 1/4 inch of space at the top. Wipe the rims clean, seal tightly, and let cool.
- Store: Refrigerate for up to 3 weeks or process in a water bath canner for longer shelf life.
6. No-Sugar Mixed Berry Jam with a Hint of Mint
Combining strawberries, raspberries, and blueberries creates a complex, rich flavor profile. Each berry adds its own unique note, resulting in a jam that’s full of depth and color.
Mint brightens the flavor of the mixed berries and adds a refreshing twist. It’s a lovely touch that makes this jam stand out, especially when paired with desserts or mixed into yogurt.
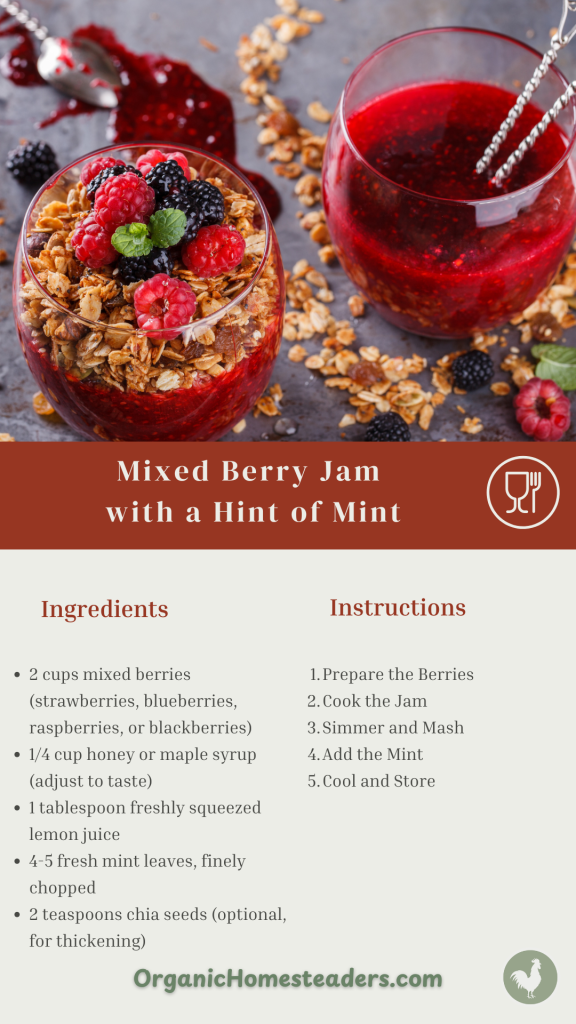
Full Instructions
- Prepare the Berries: Wash and gently pat dry the mixed berries. If using strawberries, hull and chop them into smaller pieces.
- Cook the Jam: In a medium-sized saucepan, combine the berries, honey (or maple syrup), and lemon juice. Heat over medium heat, stirring occasionally, until the berries start to release their juices (about 5-7 minutes).
- Simmer and Mash: Use a fork or potato masher to gently crush the berries to your desired consistency. Let the mixture simmer for 10-15 minutes, stirring occasionally, until it thickens slightly.
- Add the Mint: Stir in the chopped mint leaves and chia seeds (if using). Cook for another 2 minutes, allowing the flavors to meld and the chia seeds to thicken the jam further.
- Cool and Store: Remove the jam from heat and let it cool completely. Transfer it to a sterilized glass jar and store it in the refrigerator for up to 2 weeks.
Tips:
- Adjust sweetness based on the natural sweetness of your berries.
- For a smoother jam, blend the berries before cooking.
- This recipe makes about one small jar of jam; feel free to scale up for gifting or storing.
7. Low-Sugar Apricot Vanilla Bean Jam
Apricots have a delicate, honey-like sweetness that pairs beautifully with real vanilla bean. The tiny black specks of vanilla throughout the jam make it as visually appealing as it is delicious.
To achieve a velvety texture, cook the apricots until they completely break down. A quick blend with an immersion blender smooths out any remaining chunks, creating a silky, spreadable consistency.
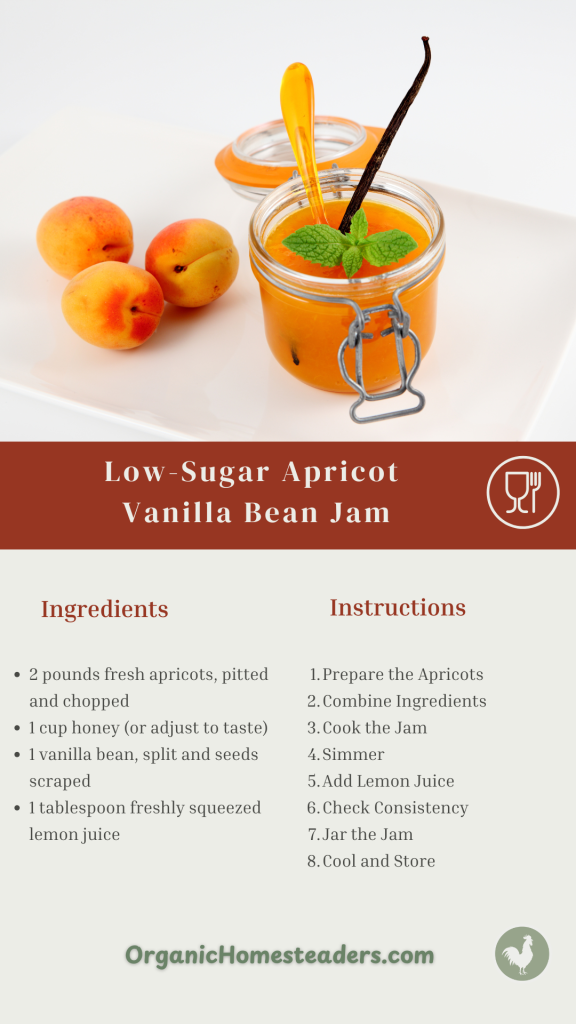
Full Instructions
- Prepare the apricots: Wash, pit, and chop the apricots into small pieces. For a smoother jam, blend them slightly in a food processor.
- Combine ingredients: In a large saucepan, combine the apricots, sugar (or honey), and vanilla bean seeds (and pod, if using). Stir gently to coat the fruit with the sugar.
- Cook the jam: Heat the mixture over medium heat, stirring occasionally, until the sugar dissolves and the fruit begins to release its juices (about 5-10 minutes).
- Simmer: Reduce heat to low and let the mixture simmer, stirring frequently to prevent sticking. Cook for 25-30 minutes, or until the jam thickens. Use a potato masher to break down any large fruit chunks if desired.
- Add lemon juice: Stir in the fresh lemon juice in the last 5 minutes of cooking to enhance the flavor and preserve the jam.
- Check consistency: To test the jam’s consistency, place a small spoonful on a chilled plate. If it holds its shape and doesn’t run, it’s ready. If not, cook for a few more minutes.
- Jar the jam: Remove the vanilla pod (if used), and carefully ladle the hot jam into sterilized jars. Leave about 1/4 inch of space at the top. Wipe the rims clean, seal tightly, and process in a boiling water bath for 10 minutes to preserve.
- Cool and store: Allow the jars to cool completely. Store in a cool, dark place for up to a year. Refrigerate after opening.
This apricot vanilla bean jam is perfect on toast, yogurt, or as a glaze for desserts. Enjoy!
Recipe Adaptations and Gifting
Think beyond breakfast! Use your jams as a filling for pastries, a topping for ice cream, or a glaze for roasted meats. They’re versatile and add a burst of flavor to both sweet and savory dishes.
Feel free to swap in your favorite fruits or adjust the sweetness level based on your preferences for certain organic natural sweeteners. These recipes are flexible and can be tailored to suit various dietary needs, including keto and diabetic-friendly options.
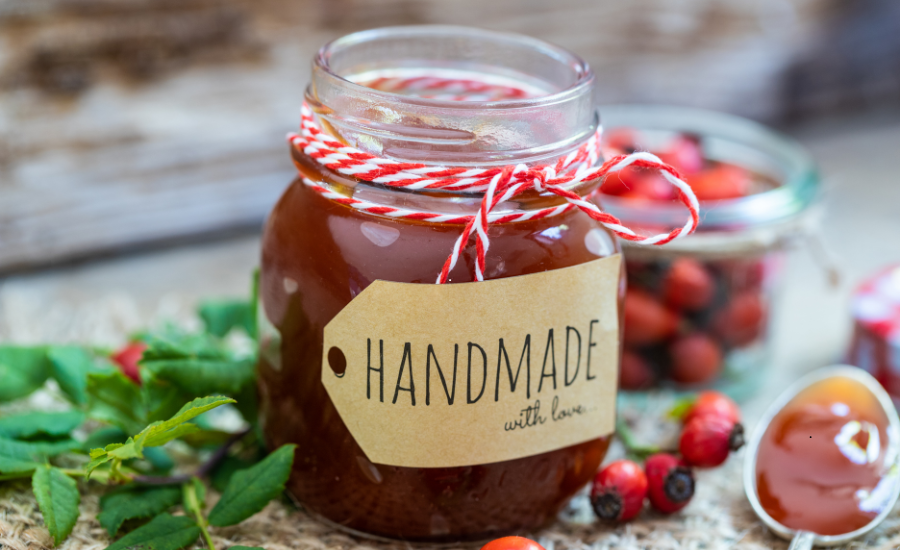
Homemade jams make thoughtful gifts for friends and family! Dress up your jars with a pretty ribbon and a handwritten label for a personal touch. Share the love and let others enjoy your delicious creations.
See Our Latest Posts
- Simple Recipes for DIY Herbal Salves and Balms
- Delicious One-Pot Homestead Meals from Pantry Staples
- 5 Best Meat Dehydrators for DIY Jerky on Amazon (2025)
- Urban Homestead Hacks from Backyard to Balcony
- Creative Strategies for Frugal Homesteading
Write A Guest Post For Us!
Are you passionate about gardening, raising livestock or preserving food? We’re excited to announce that we’re now accepting guest posts for all aspects of homesteading!

