
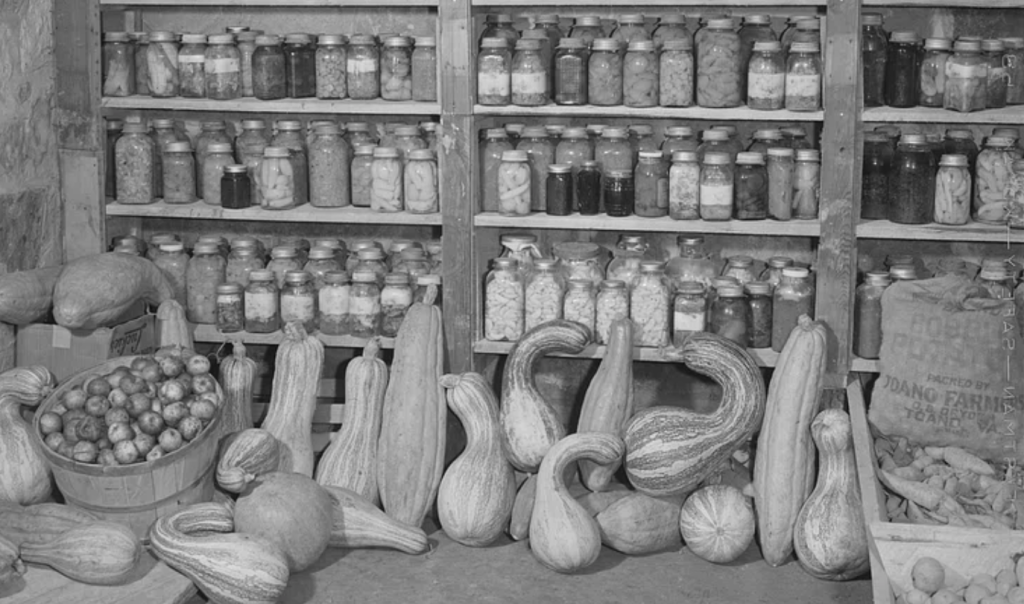
Root cellaring is an age-old method that has stood the test of time, a practice established in simplicity and ingenuity. Long before the hum of refrigerators filled homes, people turned to the earth itself to store their harvests and keep food fresh through the harshest seasons. Root cellaring was a cornerstone of food preservation for centuries, allowing families to maintain a well-stocked pantry during the long winter months.
Though the convenience of modern refrigeration has largely replaced this practice, root cellaring is experiencing a resurgence. For modern homesteaders, it’s not just about nostalgia—root cellaring offers an efficient, cost-effective way to preserve food that aligns with the growing desire for self-sufficiency.
In a world grappling with rising energy costs, homesteaders continue to seek all manner of self-sufficient energy ideas. Root cellaring is a great low-tech solution.
How Root Cellaring Works: The Science of Natural Refrigeration
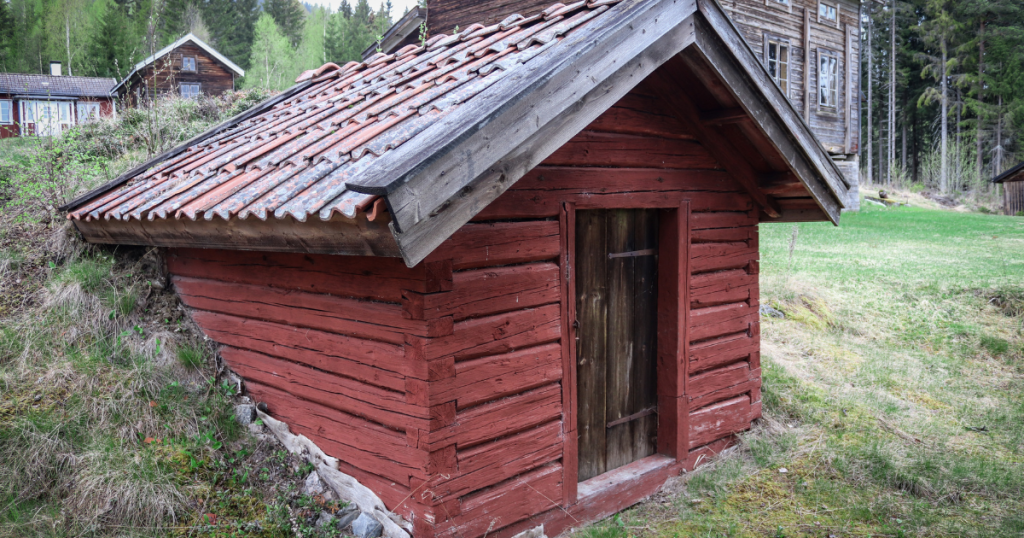
At the heart of root cellaring is a basic yet effective principle: using the earth’s natural cooling and insulating properties to keep food fresh. When you store crops underground or in a naturally insulated structure, the temperature remains cool and consistent, perfect for long-term preservation. The earth acts as a refrigerator, keeping produce from freezing in the winter or spoiling in the summer heat.
Humidity and air circulation are just as critical as temperature. Proper ventilation prevents mold and rot by keeping the air fresh, while the right humidity level keeps fruits and vegetables from drying out.
Maintaining the Perfect Root Cellar Environment: Temperature and Humidity Control
Achieving the perfect balance of temperature and humidity is the linchpin to effective root cellaring. It’s also the most challenging aspect. Ideally, your root cellar should be cool but not freezing. In most cases, the ideal temperature range for root cellars is between 32°F and 40°F, with high humidity for crops like carrots and potatoes, and lower humidity for fruits like apples.
We like to incorporate a high-tech solution to ensure that we are getting the best readings, as well as to take advantage of modern monitoring and automation options. We use a digital thermometer with hygrometer that can also connect to a smartphone. This tool is most common for wine cellars, but works perfectly for root cellars and greenhouses, showing both temperature and humidity at a glance while allowing for real-time adjustments.
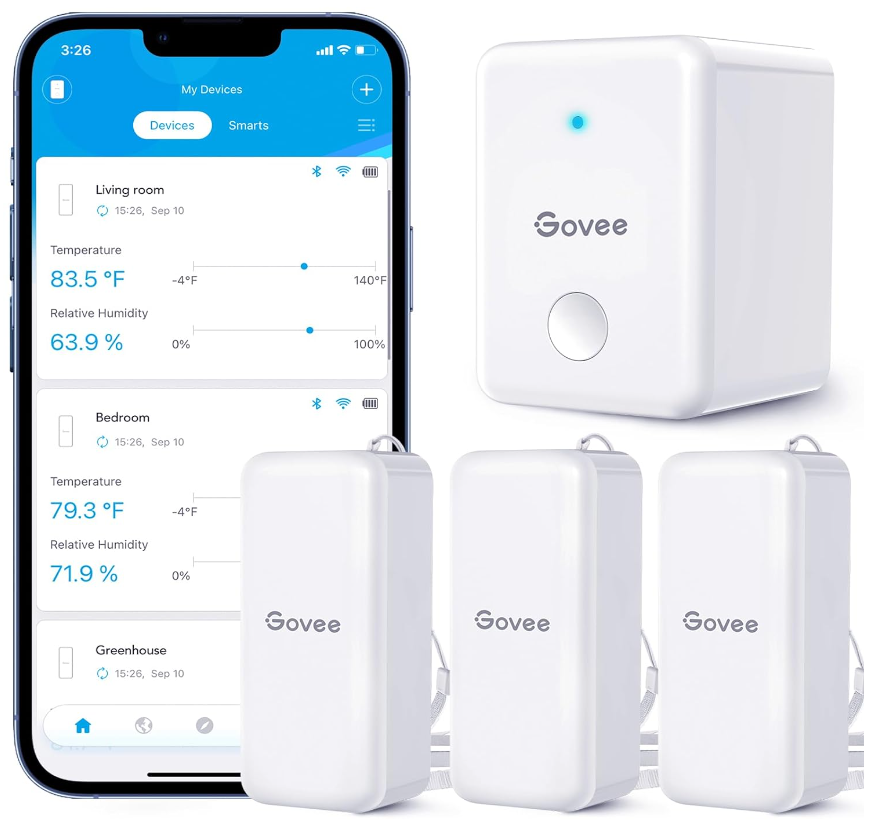
This three-pack digital thermometer and hygrometer will help cover your multi-zone root cellar and greenhouse in real-time to ensure that your valuable stores stay safe.
If your root cellar becomes too dry, adding buckets of water or damp sand can increase humidity levels, making the environment more suitable for storing root vegetables. On the flip side, if your cellar is too humid, proper ventilation or using moisture-absorbing materials like straw can help dry out the air.
Regular maintenance, such as checking for signs of spoilage or mold, ensures that your crops stay fresh for as long as possible.
What You Can Store in a Root Cellar: Best Crops for Long-Term Storage
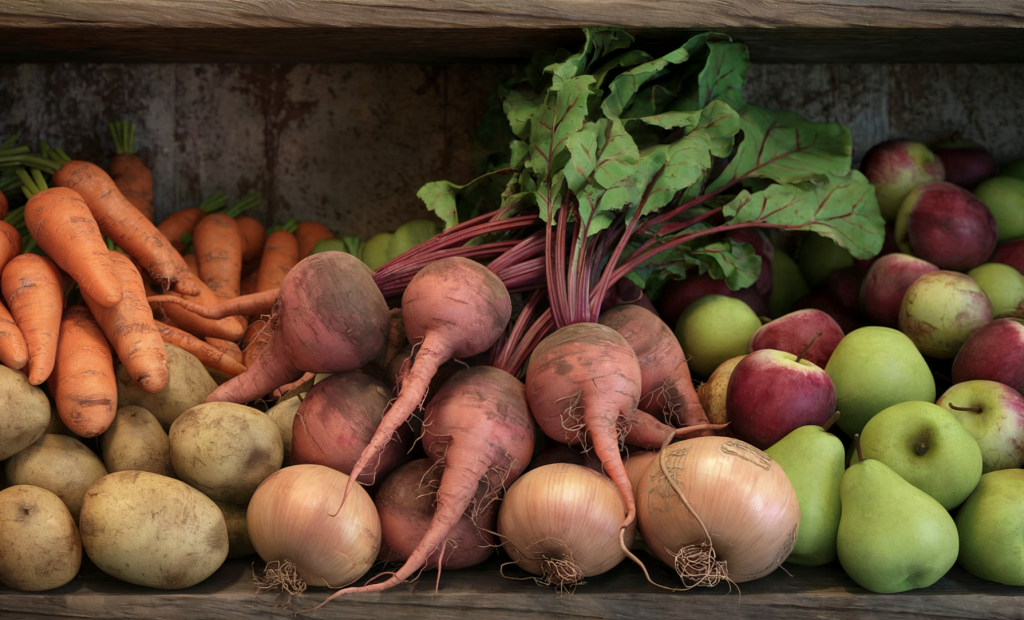
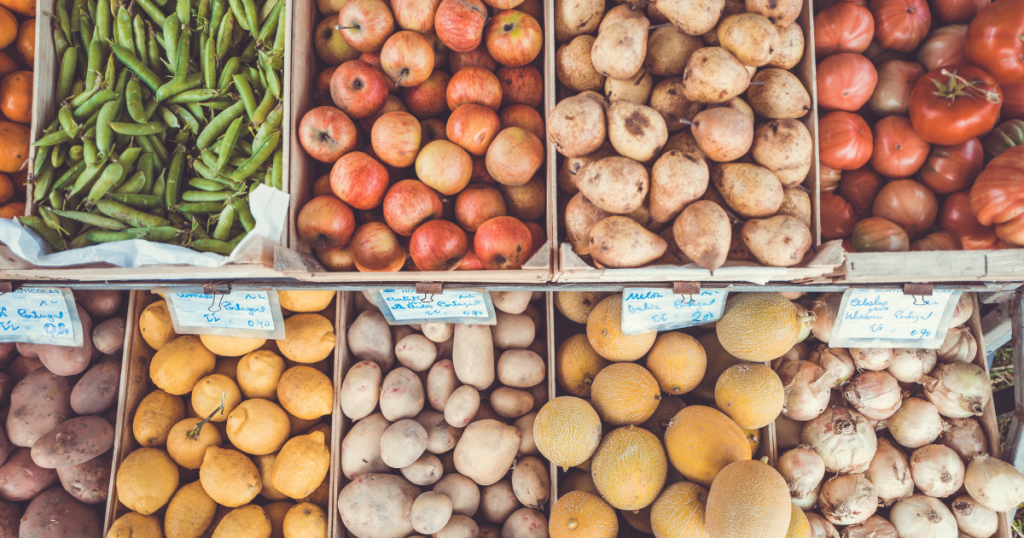
A well-managed root cellar can store a variety of crops that last for months, allowing you to enjoy the fruits of your labor well into the off-season. Vegetables from your survival garden such as potatoes, carrots, beets, onions, and turnips are root cellar staples, thriving in the cool, humid environment. Their hardy nature makes them perfect for long-term storage.
Fruits like apples and pears also store well, but they require a slightly different approach. Apples, for example, should be stored separately from vegetables because they emit ethylene gas, which can cause other produce to spoil prematurely.
While root cellars are ideal for storing fruits and vegetables, they’re not typically suitable for dairy or meat due to the temperature and humidity requirements. For these perishable items, refrigeration or freezing remains necessary.
Building Your Own Root Cellar: DIY vs. Pre-Fabricated Options
Creating a root cellar doesn’t have to be a monumental task. Whether you’re a seasoned homesteader or just beginning your self-sufficient journey, there are options to suit every level of experience.
If you’re handy with basic tools, a DIY root cellar can be built with minimal materials—often just a shovel, timber, and some ingenuity. We will be covering a variety of DIY root cellar options in-depth for an upcoming article, so stay tuned. But for beginners who do not want to invest too much time and money, the “Country Living Experience” channel on YouTube demonstrates a simple way to start a DIY root cellar for under $40!
Below-ground cellars dug into hillsides or basements are the most traditional, but above-ground options are also viable, especially in areas with high water tables.
Pre-fabricated root cellars are another option, offering convenience and durability for those who prefer a a more spacious and elaborate setup. These models often come with built-in ventilation systems and are designed to withstand the elements.
Regardless of which route you take, the location of your root cellar is key. Choose a spot that naturally stays cool, out of direct sunlight, and ideally, on the north-facing side of your property to maintain lower temperatures. In most cases, the ideal temperature range for root cellars is between 32°F and 40°F, with high humidity for crops like carrots and potatoes, and lower humidity for fruits like apples.
Preparing Your Crops for Root Cellaring

The journey to successful food preservation begins long before crops are placed in the root cellar. Timing your harvest is essential—vegetables and fruits should be picked when they’re fully mature but not overripe.
Cleaning your produce is an important first step, but it’s best not to overdo it. Most root vegetables like carrots and beets actually store better with a thin layer of dirt left on, as this acts as a natural barrier against moisture loss. Sorting is key too—any damaged or bruised items should be used immediately, as they can rot quickly and spoil the rest of your stored produce.
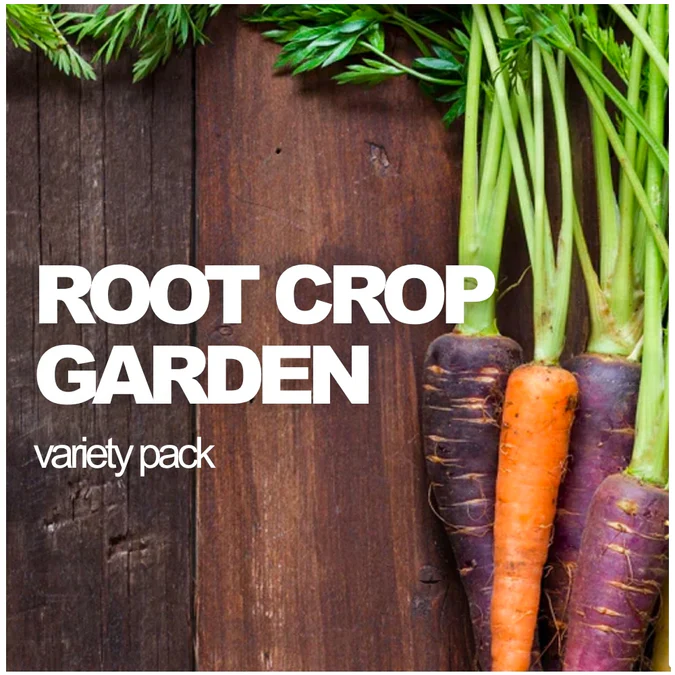
15 of the most popular varieties. Seeds are all individually packaged with a zip-lock Mylar bag system for long-term storage & maximum seed protection.
Certain vegetables, such as potatoes, onions, and garlic, require curing before they’re stored. Curing involves drying the outer skin of the produce, which helps extend its shelf life and prevent spoilage.
To cure potatoes, for example, spread them out in a well-ventilated area at around 60-70°F for 10-14 days. Onions and garlic should be hung in a warm, dry location for two to three weeks, allowing their outer layers to dry and toughen. Proper airflow is essential during this process to prevent mold growth. Once cured, these vegetables are ready to be stored in a cool, dark root cellar, preserving their quality for months.
Organizing and Storing Your Food: Maximizing Space and Freshness
A well-organized root cellar not only maximizes space but also helps extend the life of your produce. Different crops have different storage needs, so layering and grouping them appropriately can make a significant difference.
For example, potatoes and carrots can be stored in bins or barrels filled with sand or sawdust to prevent them from drying out, while apples should be kept in crates with plenty of airflow. Wooden baskets with handles are also a convenient storage option.
Another lightweight and effective solution is to use organic vegetable sacks. The best brands don’t use synthetic materials and are much safer for long-term storage. They also can be washed and recycled.
Rotating your stock is crucial! Use the oldest produce first to ensure nothing goes to waste. Labeling bins and crates with dates helps keep track of what’s stored and how long it’s been in the cellar. Maintaining this system allows you to enjoy your harvest well into the colder months, when fresh produce is harder to come by.
Embrace the Time-Tested Tradition of Root Cellaring!
In an age of convenience, there’s something profoundly satisfying about returning to the wisdom of our ancestors and building our food security one crop at a time.
For those looking to reduce their reliance on modern conveniences, as well as save money, root cellaring offers a beautiful solution. Not only does this method save on energy costs, but it also aligns perfectly with the principles of self-sufficient and organic healthy living, cutting down on food waste and plastic packaging.
Be sure to start small, perhaps with a few easy-to-store crops and a DIY root cellar, then watch as this simple practice transforms the way you think about food storage!
See Our Latest Posts
- Simple Recipes for DIY Herbal Salves and Balms
- Delicious One-Pot Homestead Meals from Pantry Staples
- 5 Best Meat Dehydrators for DIY Jerky on Amazon (2025)
- Urban Homestead Hacks from Backyard to Balcony
- Creative Strategies for Frugal Homesteading
Write A Guest Post For Us!
Are you passionate about gardening, raising livestock or preserving food? We’re excited to announce that we’re now accepting guest posts for all aspects of homesteading!